Windows 11 & WSL setup
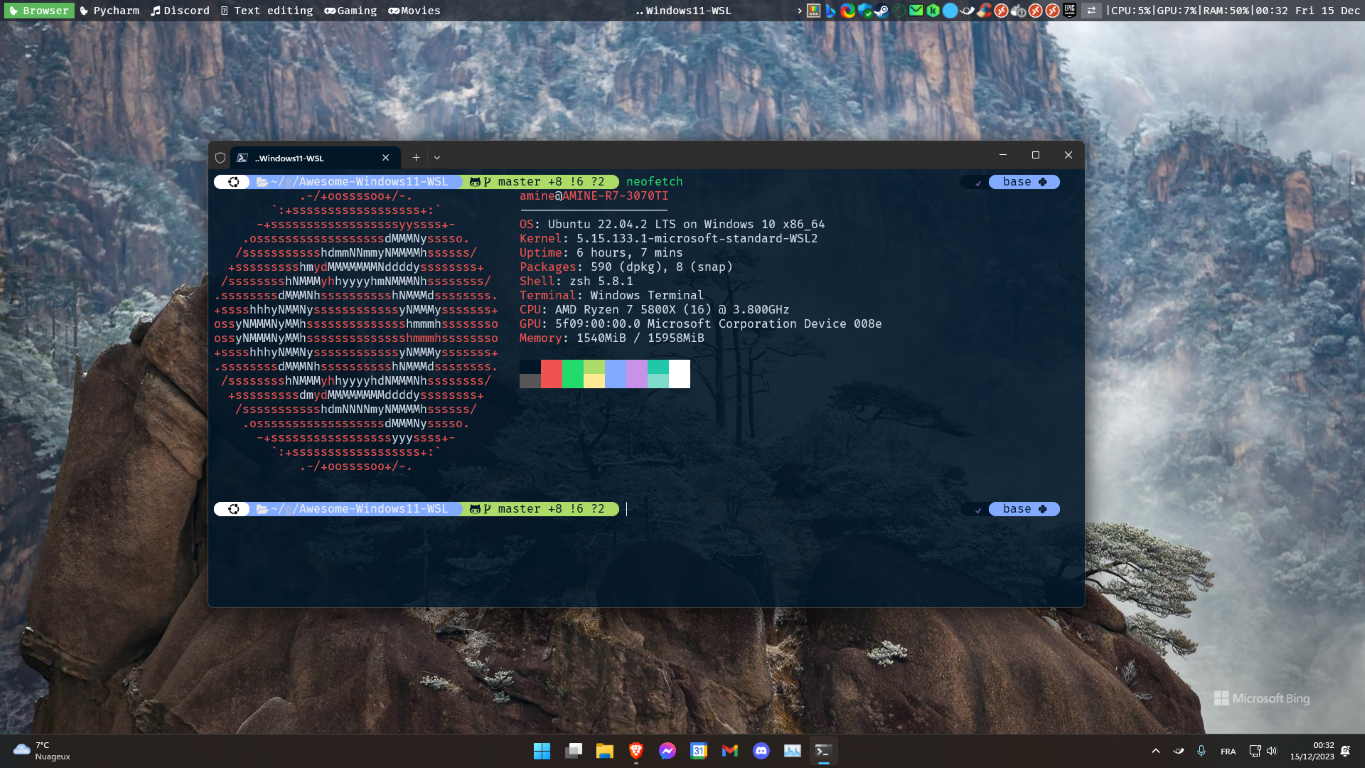
The image you are looking at is a screenshot of a WSL Ubuntu terminal in Windows 11. The top bar is an app called GlazeWM. You can follow this repository to get a similar setup.
Table of Contents
- Windows 11 & WSL setup
- 1. Windows account & configuration
- 2. Software
- 3. Coding using Linux (WSL) inside Windows
- 4. More (deprecated)
Install the Awesome-OS-Setup TUI app
1. Windows account & configuration
1.1. Windows account
- If you already have a key: activate windows with your key
- If you don't have a key, you can buy one for a small price.
- If you have a key in your old computer, you can use it in your new computer: If you didn't save the key in your
account, you need to do this before resetting your old computer
- On your old PC, check if the key is not an OEM by running
Slmgr /dli - Get your license key (if you forgot the serial number, use software like :
- Deactivate it in Windows terminal by using administrator mode with
slmgr /cpky - Activate it on the new computer using
slmgr /ipk xxxxx-xxxxx-xxxxx-xxxxx-xxxxx
- On your old PC, check if the key is not an OEM by running
1.2. Windows configuration
- 🔑 Save your key: Connect windows with your Microsoft/Outlook account to save and link the key to your account
- 📍 Activate localization on Windows (if you want to localize your device)
- 🔐 Activate bitlocker to encrypt your data (Exists only on Windows pro, education and enterprise edition)
- 🖥️ When placing an external monitor that runs 144HZ, make sure to activate the
144Hzin display settings - ⚠️ If you're using OneDrive, careful when you sync your Desktop and Windows specific folders, you can face some problems. My advice is to avoid syncing Windows default folders (like Desktop, Documents). Unsyc everything (Desktop, Documents...) Just use OneDrive as a cloud store like Google Drive. If you don't use it, you can uninstall it.
- 💤 Sleep mode with or without screen lock here
- If you have a 3200mhz RAM, and it runs bellow this frequency, activate XMP profile in the BIOS
- Turn off usb ports and pc lights when in sleep mode in the BIOS
🎧Audio settings
- If you have Bluetooth and audio devices, you can sort them in audio settings → use as default for both audio and communications.
- You can also deactivate some audio devices if the are unused in the audio settings. Check this link
- Deactivate lowering communication sounds in advanced audio settings.
🖥️ Monitor and Display Settings
- Change display settings (refresh rate, resolution, scaling, etc.):
Windows + I→ System → Display . Or Right-click Desktop → Display settings
- 🚀 Critical Step – Refresh Rate : Go to Advanced display. Select the highest available refresh rate from the dropdown
- Optimize Overdrive: Avoid using the "Extreme" or "Ultra-fast" response time settings. These usually degrade performance.
- Use the following to check the performance of your monitor, and read the instructions on the top of each test. Make sure to use the full screen mode.
- Do not move your mouse between the area of the test and the rest of the screen because it will cause stuttering. You can move your mouse outside the area of the test. The best is to use the full screen mode of the test.
- Ghosting: Visit https://testufo.com/ghosting and adjust your monitor's Overdrive (OD) settings until the UFO images look as clean and sharp as possible.
- FPS: https://testufo.com/
- Black Level Test: https://testufo.com/blacklevels
- Local Dimming: https://testufo.com/localdimming
- Color Calibration: When adjusting your monitor's RGB values, only adjust them down from the default (e.g., if you want more green, decrease red and blue). Increasing values beyond default reduces maximum brightness and can lower contrast on LCD screens.
- Manage Brightness: High brightness causes eye strain and fatigue over long sessions, making it harder to spot enemies. Instead of maxing out brightness, use the Shadow Boost feature to brighten only dark areas.
- Use Twinkle Tray to control brightness via the taskbar or keyboard shortcuts during gameplay.
- HDR settings:
- If your monitor supports HDR, make sure to activate it.
- Keep the HDR brightness to the maximum value (or to 80% minimum). If you want to reduce the brightness, do it in the games or applications.
- You can change the brightness of SDR content when HDR is enabled in the Windows HDR settings of your monitor, if it's too bright for you.
- Use the Windows HDR Calibration app to calibrate your monitor.
- Bias Lighting: Place lights behind your monitor to improve perceived contrast and further reduce eye strain.
- Monitor Latency: Use the Nvidia statistics overlay (Alt + Z) to track your PC latency.
- GPU Utilization: System latency spikes when your GPU hits 100% utilization. To keep latency low, use an FPS limiter, lower graphics settings, or enable Nvidia Reflex to ensure you are not "GPU bound".
- Full-screen games optimization: uncheck “disable fullscreen optimization” for the .exe. You will get a fast alt tab (only on the latest windows versions). Example: Make your way to the following file location on your desktop: C: \Program Files (x86)\Steam\steamapps\common\Counter-Strike Global Offensive\game. The goal here is to locate the CS2.exe file.
-
🧠 Multiple Monitor Logic:
- Each monitor configuration has its own saved settings
- Single Monitor Setup
- Customize refresh rate and resolution
- Dual Monitor Setup
- You must re-adjust refresh rates for this configuration
- Windows remembers these settings separately
- Triple Monitor Setup
- Each monitor must be configured individually again
- 🔄 When switching back to a previous setup, Windows automatically restores
- Use
Windows + Pto disconnect/extend/duplicate a monitor if you have multiple ones: (Windows + P) → Select the monitor → Next to identify, select the right option. - Select Identify to confirm monitor positions
- For advanced setups, consider DisplayFusion (paid)**** :
- You can use DisplayFusion if you want to easily configure displays and monitors. For example, you can create a configuration to use two monitors, and a configuration to use only one and turn off the second, a configuration to use the tv only ...etc.
- Display Fusion configurations are meant to be used when you don't need to turn off manually the monitors ...etc. So if you have a TV, no need to change the configuration from monitors to TV. You just need to turn off the monitors, and turn on the TV; Windows will recognize that there is a change in the displays and will use the TV.
- You can use DisplayFusion to easily create profiles for different configurations (e.g., a "Gaming" profile for one monitor, a "Work" profile for two, or a "Movie" profile for the TV).
-
Windows UI/UX Tips:
- Hide the Windows taskbar (right-click on the taskbar → taskbar settings→ taskbar behavior (at the bottom) → automatically hide the taskbar).
- Pin some folders and drivers, Recycle Bin in the file explorer. Fast browsing: right-click on the file explorer in the taskbar to show the shortcut to the pinned folders.
- Auto lock screen after x minutes of inactivity: search for
screen saverin windows and select the number of minutes before your computer auto locks itself. - Show Files extensions: In File Explorer under View, in the Show/hide group, select the File name extensions check box.
- You can change your power management options (when windows will be put to sleep, what happens when you close your laptop. Ect), performance vs normal usage.
- You can convert a website to an application, for example, Google Agenda/ Netflix in Edge/Brave/Chrome, go to At the top right: More -> More Tools -> Create shortcut and check window mode, it will run like an app in your Windows desktop
- Remove unnecessary programs, unnecessary icons from the start menu and add others like Maps, meteo & calendar
- Deactivate startup programs that you don't need.
- Always use the Windows search bar to search for functionalities, settings, apps, files, folders, and more. Even the deep settings are accessible from the search bar.
- You can use PowerToys to search for files, folders, and more. It's faster than the Windows search bar but does not contain deep settings.
- (Need to update) Disable mouse from waking up computer from sleep and allowing only the keyboard to do that:
If your mouse has some buttons, they will be registered as a keyboard, so you need also to disable them.
PS C:\Users\amine> ``powercfg /devicequery wake_armed``
Périphérique clavier PIH
Périphérique clavier PIH (001)
Souris HID (001)
Realtek PCIe 2.5GbE Family Controller
Souris HID (002)
Périphérique clavier PIH (004)
Périphérique clavier PIH (005)

PS C:\Users\amine> ``powercfg /devicedisablewake "Souris HID (001)"``
PS C:\Users\amine> ``powercfg /devicedisablewake "Souris HID (002)"``
Other apps, websites and tips: (DEPRECATED)
- Take a look at Windows 11 subreddit & Awesome Windows 11 -
2. Software
Automatic installation of these apps is available with the Awesome-OS-Setup TUI app
All the Apps are available at packages.yaml. Check the Windows section.
For App configuration, check apps_configuration_and_shorcuts.md
For browser extensions, check browser_extensions.md
- Remember to sync your settings bookmarks...ect.
-
Use two browsers / or two profiles: one for work and the other for personal use.
-
Agenda & Mail: Google Calendar, Gmail
- create an app shortcut with brave & add them to the taskbar it will act like an app in windows, and activate the notifications.
- You can change the theme and prioritize stuff like notifications (all new emails), signature...etc.
- Download their desktop notifications extensions: Desktop notifications for Gmail & Desktop notifications for Google calendar
- Make Brave the default apps in windows for mailto and agenda (Windows search bar -> type in
Default appsthen add brave to 'mail' & 'agenda.' Go to brave://settings/handlers and add gmail and agenda. Open now the gmail website and accept brave as the default app.
2.5. Image & Video Editing:
- Software recording: OBS Studio
- Video editing: Creative Cloud (Adobe première pro), CapCut, Microsoft Clipchamp, Canva
- Image editing: Adobe Photoshop or free alternative Photopea
2.6. Documents, Storage & Editing:
- Cloud Storage: Google Drive, Microsoft OneDrive, iCloud, Mega Drive (free 50GB)
- Files explorer: Files (Check my personal settings here)
- Files editing: Microsoft 365, Office 2021
- PDF Editing: Adobe Acrobat Reader DC, Sejda (3 free tasks per hour)
2.7. Gaming:
- Games launcher: Valve Steam, Epic Games Launcher, Nvidia GeForce Experience, Ubisoft Connect, SideQuestVR, Oculus, Xbox Game Pass, EA Desktop
- Game streaming: Parsec, Nvidia GeForce Now
- Game recording: OBS Studio or native Windows screen recorder
⊞ + Gor⊞ + alt + R - Game utilities: DS4Windows, Nvidia GeForce Experience (For Nvidia GPU)
2.9. Utilities
- Audio : EarTrumpet
- Screenshot: ShareX : Screen capturing with regions and GIF recording, use
ctrl + print(you can also import your settings, follow this link) - Password manager: iCloud Passwords (available on Windows and has even a 2FA that automatically provide you with codes) if you have an iPhone or Bitwarden
- Desktop enhancements :
- Microsoft Bing Wallpaper. Change your wallpaper every day with Bing's wallpaper.
- GlazeWM (tiling window manager). Check my personal settings here
- Wintoys :
- You can use this app to access easily the most used settings in Windows.
- Set up, debloat, optimize, repair, and tweak your operating system in a simple, time-saving, yet safe approach.
- For example, you can use this app to stop and uninstall Windows apps like 'Dev Home.'that can't be uninstalled using Windows or using Revo Uninstaller
- Raycast
- DisplayFusion. Check my personal settings here
- Revo Uninstaller
- HWiNFO (Link to my settings here
- CCleaner
2.10. Development & Programming
- WSL (Windows Subsystem for Linux) with Ubuntu 22.04 LTS. Check the WSL section below.
- Microsoft Windows Terminal: Always use Windows terminal. It contains all the terminals in one place (ubuntu,
PowerShell, wsl, cmd...ect). You can right-click on any folder to open it.
- My personal shortcuts & tips & settings for this app here
- PowerShell 7 :link. Change the default terminal in Windows Terminal, and activate the "run always as administrator in the default profile"
- JetBrains PyCharm (Community and Professional), IntelliJ IDEA, Webstorm, WriterSide. Check my personal settings here
- Docker Desktop: Requires WSL (see the WSL section). You can start, stop, delete containers easily, access & edit files right inside the container without the need of a terminal.
- Sublime Text 4. Check my personal settings here
- Visual Studio Code
- Obsidian. Link to my settings here
- Notion
- Game development: Unity, Unreal Engine, Blender
- SFTP: Filezilla: for SFTP (work with a private key: add it in edit/connection/sftp or use pageant)
- Git emojis: https://gitmoji.dev/
- explain paper: https://www.explainpaper.com/
- Latex Handwriting recognition: https://detexify.kirelabs.org/classify.html
- Turn math equations and snipping to latex code: https://mathpix.com/
- Overleaf: https://www.overleaf.com/
3. Coding using Linux (WSL) inside Windows
The most amazing thing about WSL (WSL2.0 exactly) is: You can run Linux in Windows without the need of a virtual machine.
- It's a full Linux kernel running on Windows.
- You can install packages directly on Linux
- Virtualization overhead is not noticeable, full integration between guest and host os's, you can run binaries compiled for MS Windows from linux.
- You can navigate and communicate between ubuntu and windows as Ubuntu acts like a disk drive.
- You can install conda environment in ubuntu, use GPU, use pycharm on windows to connect to WSL conda env and more.
- Do not code in both OS, use, for example, pycharm or vscode on windows with a conda environment installed on WSL. The best thing is to combine the power of Windows with WSL.
3.1. Install WSL:
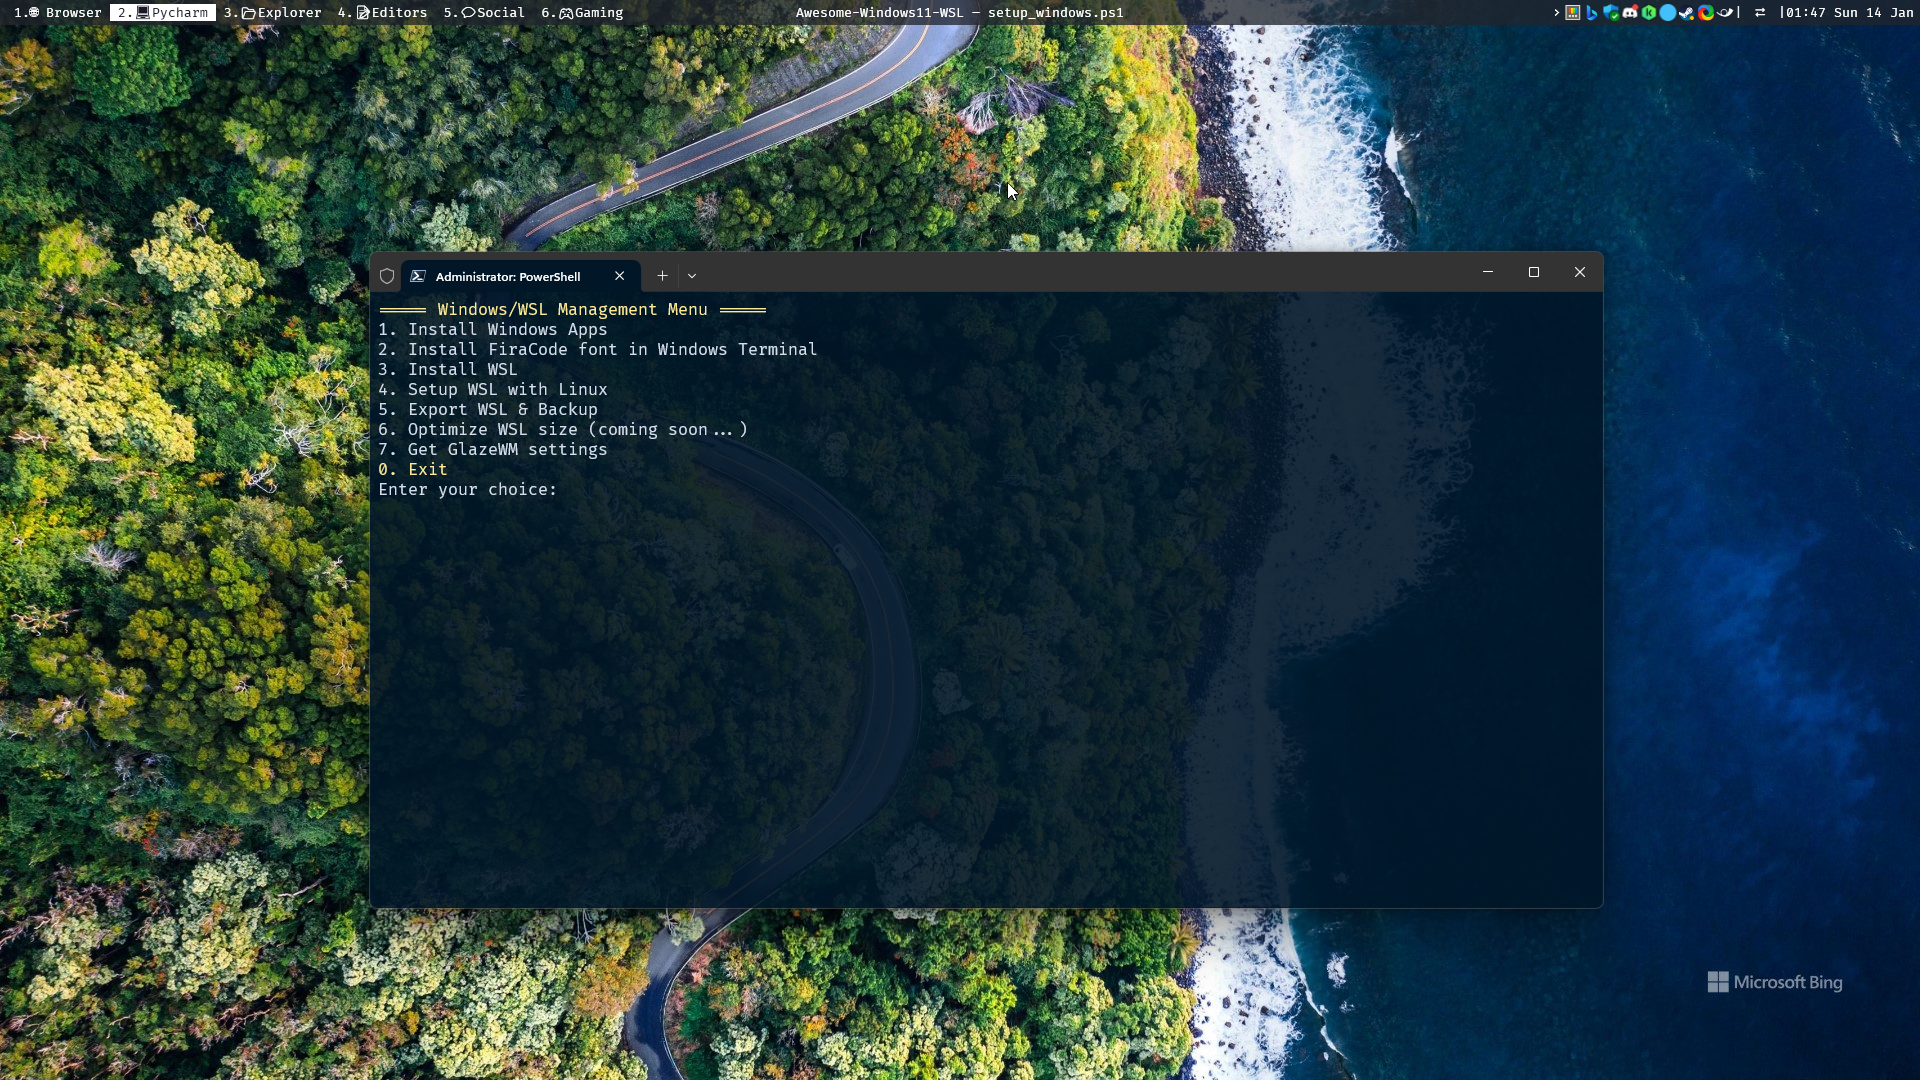 - Automatic installation of WSL available with the Awesome-OS-Setup TUI app
- Run the script in Windows Terminal
- Or manual installation: Run this command in PowerShell
- Automatic installation of WSL available with the Awesome-OS-Setup TUI app
- Run the script in Windows Terminal
- Or manual installation: Run this command in PowerShell wsl --install. You can also select the drive where you want to install it instead of the default 'C' drive and this is what I recommand doing.
- Restart your computer
- When installing WSL, it comes with Ubuntu (you can always install other distibutions from the microsoft store)
- You have different options to run Ubuntu :
- From windows search bar (and select ubuntu or WSL for the default distro)
- Running
ubuntuinside Windows terminal - Running
wslinside Windows terminal to run the default distro - Running Windows terminal and choosing ubuntu in the terminal tab section.
- If it's not there, make sure you have correctly installed WSL by searching wsl in your Windows search bar & running it.
- If you have Nvidia GPU & the nvidia driver is installed on Windows, you can run
nvidia-smion Linux. No need to install the nvidia Driver again on Linux. - You can choose a default terminal when you open Windows Terminal (for example, wsl): go to settings -> default profile -> select the terminal you want to open by default.
- If you have ubuntu terminal: you can add
C:\Windows\system32\wsl.exe -d Ubuntuin the ubuntu profile to open ubuntu by default in the directory. - Add systemd to wsl.conf if it's not there: run
sudo vim /etc/wsl.confinside linux then paste the following code:
[boot]
systemd=true
- Restart the terminal and run
systemctl list-unit-files --type=servicein WSL to see some processes running. - If you have an ssh key in windows in
C:\Users\%UserProfile%\.ssh, copy it (both keys) to linux~/.sshfolder or using Windows file explorer or power toys\\wsl$\Ubuntu\home\%USERNAME%\.sshand change its rights using:chmod 600 ~/.ssh/id_rsaandchmod 600 ~/.ssh/id_rsa.pub. - If you don't have an SSH key, generate a new SSH key using:
ssh-keygen -t rsainside linux (when prompted, you can enter an empty password). - Jump to the next section to configure your WSL /Ubuntu.
3.2. Linux/WSL Setup - terminal, shell, Miniconda, CUDA & More:
After installing WSL, you have now ubuntu running inside windows. Follow these guides containing an automated script to customize your terminal, shell, install Miniconda, CUDA, and more:
- 1. Linux Setup Guide: A set of configurations, dotfiles and a script to automatically set up a powerful terminal & shell utilities(zsh, fzf...), themes like Powerlvl10k, Conda, GPU drivers, and more on Linux/WSL2.
- 2. Windows, WSL & apps settings/tips
- 3. Cuda & Pytorch installation inside conda
3.3. WSL2 Utilities, Tips & Tricks :
- Take a look at awesome-wsl
- A surprising number of Linux GUI apps can run on WSL. GUI applications are officially supported on WSL2 and referred to as WSLg(No installation required).
-
Windows Hello on WSL
-
Find WSL path:
\\wsl$\Ubuntu\homeor\\wsl$\Ubuntuthen ping it in Windows Explorer's sidebar. - You can use
wslpathcommand to convert a Windows path to wsl path:wslpath 'C:\Users\AmineDjeghri\Desktop\' - Folder size for current directory:
du -h,du -h | sort -h. For specific directory:du -h /folder - wsl disk usage:
df -hlook on the right column 'Mounted on,' ordf -h /mnt/wslg/distro - Reclaim disk space :
- it requires docker Dashboard for WSL2, and 2 hyper V params in the Control Panel.
- Install this https://superuser.com/a/1307442/769637 install the Hyper-V Platform | Hyper-V Services part, too + restart)
- in Administrator Mode:
wsl --shutdownthencd 'C:\Users\%UserProfile%\AppData\Local\Packages\CanonicalGroupLimited.Ubuntu_79rhkp1fndgsc\LocalState'thenoptimize-vhd -Path .\ext4.vhdx -Mode full - for more information, check this: these https://askubuntu.com/a/1380274 + https://github.com/microsoft/WSL/issues/4699 +
- To change the default distro or fix the
wslcommand to start your distro from powershell not working, you can do:
- You can enter ubuntu with different ways: clicking on Shortcut (Orange), or running 'wsl' in Windows terminal, or running 'ubuntu' in Windows terminal, or selecting the right profile in the tab in Windows terminal.
- To open Ubuntu terminal from current location: go to Windows terminal -> parameters -> profiles -> ubuntu -> command
line (under name) and change it to
ubuntu run. - Now, go to desktop and right-click to open a Windows terminal, run 'wsl'; you should see that ubuntu started from the current location.
- (pycharm) Use WSL/ubuntu as the default terminal in pycharm:
settings -> tools -> terminaland put in a shell path:ubuntu run - (pycharm) Add WSL conda interpreter in Pycharm (add interpreter -> WSL -> conda) and select the global
conda:
/home/amine/miniconda3/bin/conda. Then click on load environments, and it will automatically detect all the conda envs.
3.4. backup and restore WSL
You can export wsl image after finishing all the steps to save it in case you move to a new computer :
- wsl --terminate ubuntu
- wsl --shutdown
- wsl --export Ubuntu E:\ubuntu.tar
- source 1
3.5. Uninstall WSL:
Uninstall all distributions & WSL from the control panel & open Windows Features, then turn on (check) Windows Subsystem for Linux. Restart your computer.
4. More (deprecated)
- Add more Desktop icons (PC, Downloads...): Personalization->themes->desktop icon settings
- Use Quiet Hours and add only the applications that you want them to send you a notification, (Brave will still send you notifications to get BAT, but it will never appear)
- Windows partition: use the window partition integrated software to create, delete or format partitions
-
If you consider buying a computer with a GPU for Deep Learning, choose a computer with an NVIDIA GPU that supports CUDA (preferably > RTX 2000 series).
-
Wifi & Router 5ghz:
- Deactivate WPS
- Make your Wi-Fi invisible,
- Choose 5ghz over 2.4ghz: if your device is connected to a Wi-Fi, and it keeps switching between 5ghz and 2.4ghz do the following:
- If it's your Wi-Fi: split your Wi-Fi into 2 access points, one for 5Ghz and the other for 2.4Ghz. After that make your PC connect to the 5Ghz one only
- If it's not your Wi-Fi (hotel/work Wi-Fi) and you have an ethernet port, you can always plug a router (example, HONOR ROUTER 3 WI-FI 6) and have your own private network. You can split the Wi-Fi into 2 access points like I mentioned it in the section above.